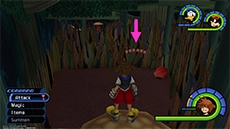
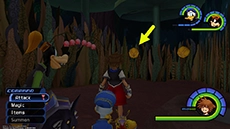
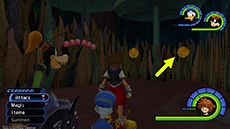
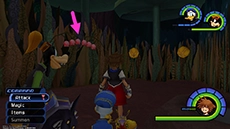
| x19 | x5 | x4 |
Travel through the door at the end of the hallway, then approach the small wooden door that the rabbit escaped through. The doorknob instructs Sora to use the bottle on the table in order to grow smaller.
Follow the White Rabbit
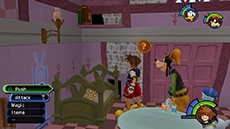
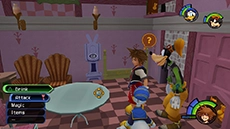
Before using the bottle on the table, walk towards the bed in the corner and Push it; the bed will slide into the wall, revealing a new passageway. Proceed to Drink from the bottle on the table, then travel through the passage in the corner.
Sora & co. will step into the middle of

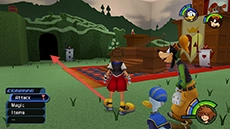
Evidence for the Trial
NEW HEARTLESS: Red Nocturne
Sora & company encounter the
| Instructions | Screenshot |
|---|---|
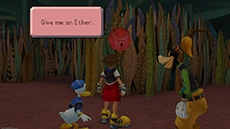
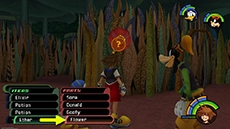
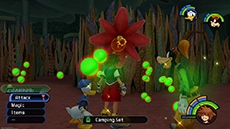
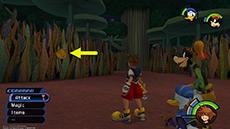
| 1) Approach the large yellow flower bulb on Sora's left, near the pond with the flattened lily pads. Give a Potion to this flower to have Sora grow large. | 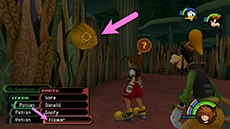 |
| 2) As giant Sora, jump on to the nearby wooden stump in the corner opposite from the yellow flower bulb; this will cause the flattened lily pads to rise up as platforms. | 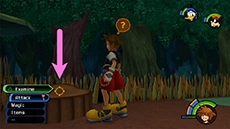 |
| 3) As giant Sora, approach the large tree in the center of the area. Examine the tree (do not strike the tree to spin it at this time), then Take the fruit from it. Eat the fruit to have Sora return to his standard size. | 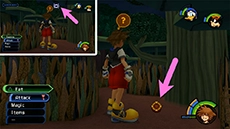 |
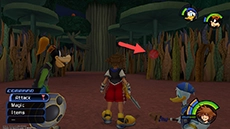
| 4) Travel into the alcove behind the large red flower bulb to find your first piece of evidence. Open the pink box on the ground to acquire Footprints. You can also perform the Blue Trinity in this alcove if you wish. | 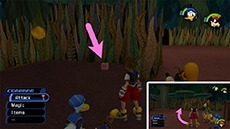 |
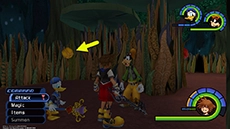
| 5) Exit the alcove and travel to the far end of the forest to reach a set of three mushrooms; you can jump onto these mushrooms to reach the Antennae in a pink box on top of a raised lily pad platform. | 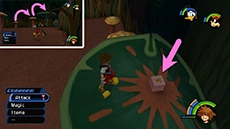 |
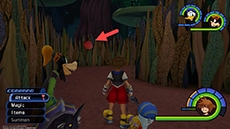
| 6) Return to the alcove where you found your first piece of evidence, and jump on the mushrooms to reach the higher lily pads. Enter the passage hollowed into the large tree to reach the stove-top in the Bizarre Room and acquire the Stench evidence. | 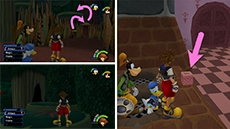 |
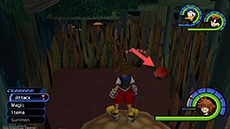
| 7) Return to the same alcove in Lotus Forest and climb the mushrooms again, but this time travel across the newly risen lily pads to reach the passage in the corner. This will drop you to the faucet on the wall of the Bizarre Room. Carefully jump to the nearby shelf to obtain the final piece of evidence: the Claw Marks. | 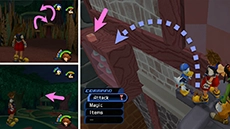 |
You are only required to obtain one piece of evidence before returning to the Queen of Hearts. If you manage to gather the Claw Marks (see above), the Cheshire Cat will appear and teach Sora the magic spell Blizzard.

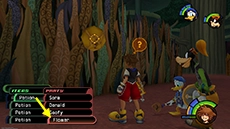

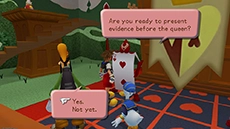
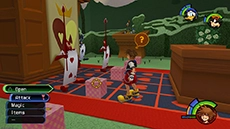
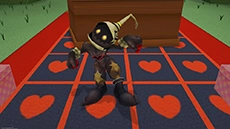
Once you have retrieved all four pieces of evidence (or as many as you wish), return to the Queen's Castle and Talk to one of the card soldiers in front of the podium. You may choose whichever box you want, but exercise caution: the contents of the box could be a Heartless, or it could also be Donald, Goofy, or both of your friends (in which case, Donald and/or Goofy will be caged in the following skirmish).
 |
Crank TowerCrank Tower |
|
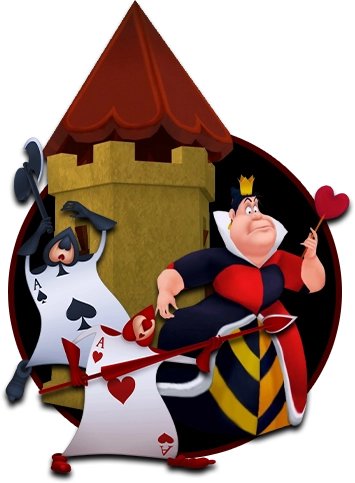
HP: 60 / 45 EXP: 100 DIFFICULTY: Your main objective in this fight is to strike and destroy the crank tower in the center of the area. If Donald and/or Goofy are imprisoned, you can attack their cages with a few hits to release them. Attack each of the levers on the small tower in the center of the courtyard until they break. To avoid the card soldiers' attacks, it's best to run in a circle around the tower and jump before striking it, then repeat this process as the card soldiers approach. 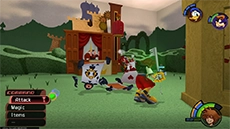
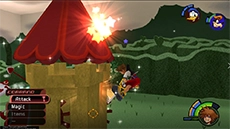
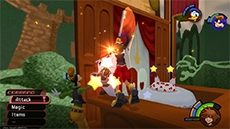
If you acquired Blizzard magic before this fight, you can use it to damage card soldiers that are grouped together. You can also attack the card soldiers until they are briefly incapacitated; however, they do not give you EXP, and they quickly recover after being knocked out. You can also jump on the Queen's bench and strike her; this will cause some card soldiers to freeze in place for a while. Each time you destroy a piece of the tower, HP balls and munny will be released. While you're on the ground, use your dodge roll to avoid damage from the card soldiers.
REWARD: None |
||
Brighten the Bizarre Room
NEW HEARTLESS: Large Body
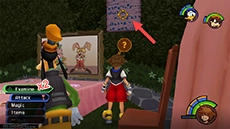
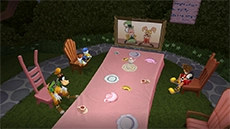
After the skirmish, return to the Lotus Forest (through the passageway on the west wall) to encounter the Cheshire Cat again. After the encounter, travel to the Tea Party Garden, located through a passage along the back wall of Lotus Forest.
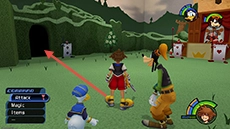
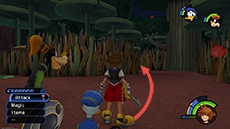
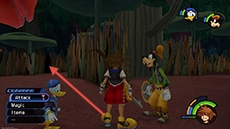
Enter the Bizarre Room by walking through the door of the cottage on the left. You will see that everything is upside-down in this room. Jump on top of the lanterns in the center of the room and Touch both of them. After lighting the second lantern, Open the metal latch on the far wall to enter the Queen's Castle.
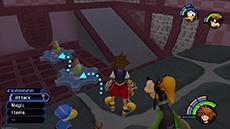
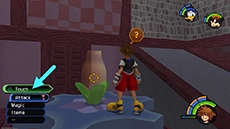
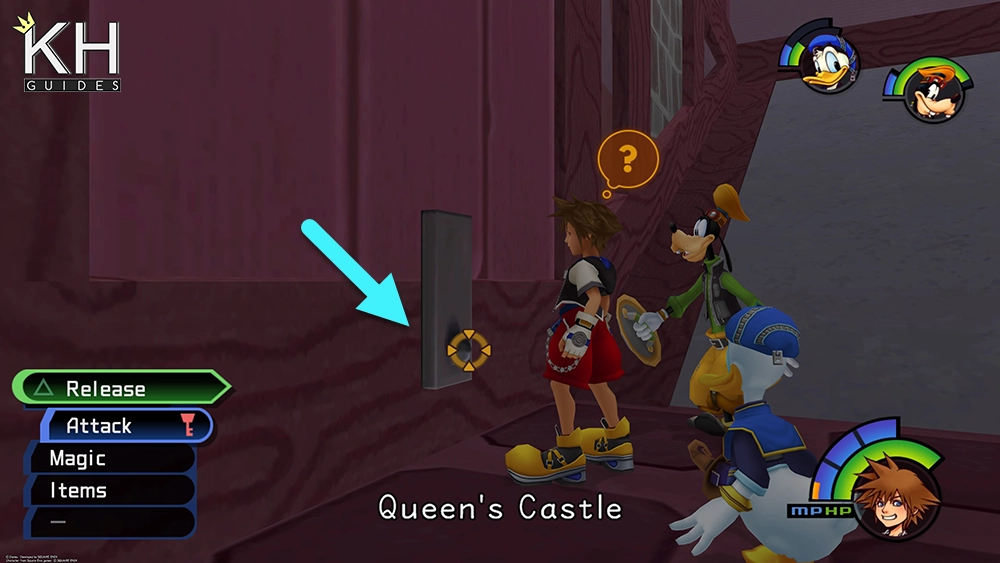
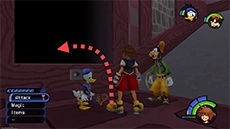
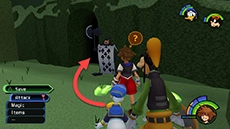
Jump down and save your progress at the nearby save station, then enter the Bizarre Room through the southern passage. Examine the flower in the corner to receive HP Balls, two Potions, and a Mythril Shard. Jump on the table, equip some curative items, and Talk to the Cheshire Cat. The Cheshire Cat vanishes, and a large Heartless appears from the shadows.
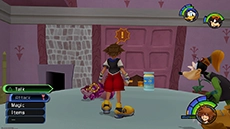
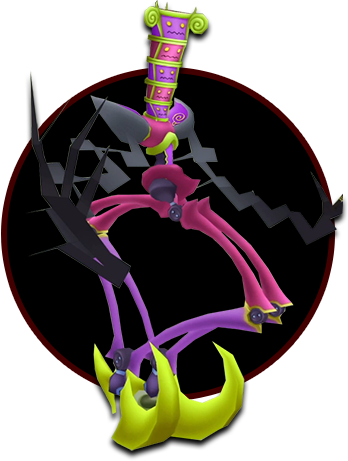 |
TrickmasterTrickmaster |
 |
HP: 600 EXP: 150 DIFFICULTY: The Trickmaster is only vulnerable to damage at its torso, and there are two general methods to attack it: [1] Lock-on to it and attack from its underside by jumping and striking once or twice (you'll need to hold the jump button for maximum height). This method is tedious, because you can only attack briefly while in the air, and it puts you at greater risk of taking damage from its baton swings. [2] A more effective method is to jump from the table in the center of the room (or from the smaller table in the corner of the room) to attack. This allows you to strike the Trickmaster's center with complete air combos in most cases. 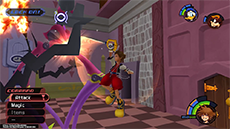
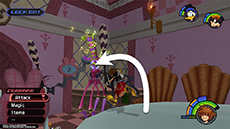
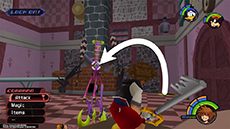
After taking several hits, the Trickmaster will release HP orbs and stagger to the ground; this is a great opportunity to land two or three complete air combos. You can also take a moment to pick up the HP orbs if you need to heal up. Use a Potion if your HP falls to critical levels. When enough of its HP is depleted, the fight will move into a second phase where the Trickmaster moves to the stove and lights its two juggling pins; this allows it to cast two different fireballs (a single, slow-moving fireball, and several fast-moving fireballs). These can be deflected with well-timed attacks or by using the Guard ability (if available). The safer option is to move behind the table or around the corner behind the stove to avoid them. 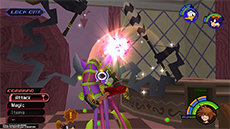
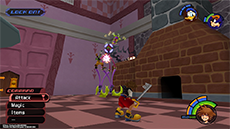
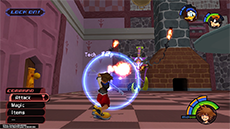
You can prevent the Trickmaster from lighting its batons by casting Blizzard magic at the base of the stove 1-3 times (depending on your magic stat). You should lock on to the base of the stove and put a little distance between Sora and the stove before casting. This effect lasts for about 100 seconds. You can also cast Blizzard directly on its lit batons to put them out, but your timing and positioning needs to be pretty precise. 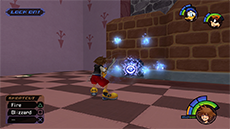
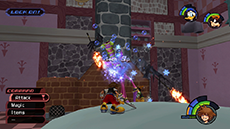
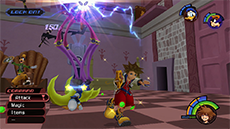
REWARD: Ifrit's Horn, Sora learns the magic spell Blizzard |
||
If the Claw Marks evidence was not found, Sora will learn the magic spell Blizzard after defeating Trickmaster.
After Trickmaster is defeated, Sora seals a
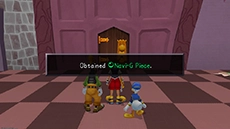
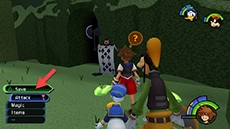
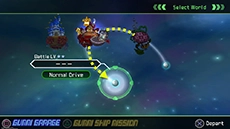
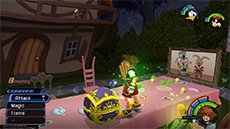
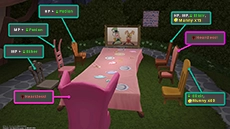
Before you leave Wonderland, you can explore more of the Bizarre Room, and gain prizes from the Lotus Forest flowers and by sitting in the chairs in the Tea Party Garden.


